
OBS & streaming tech
How to wire a virtual audio cable for OBS live translation
A step-by-step VB-Cable and BlackHole setup that routes translated speech into OBS while keeping the host's own monitoring path clean and echo-free.
Lab Editorial5 min read
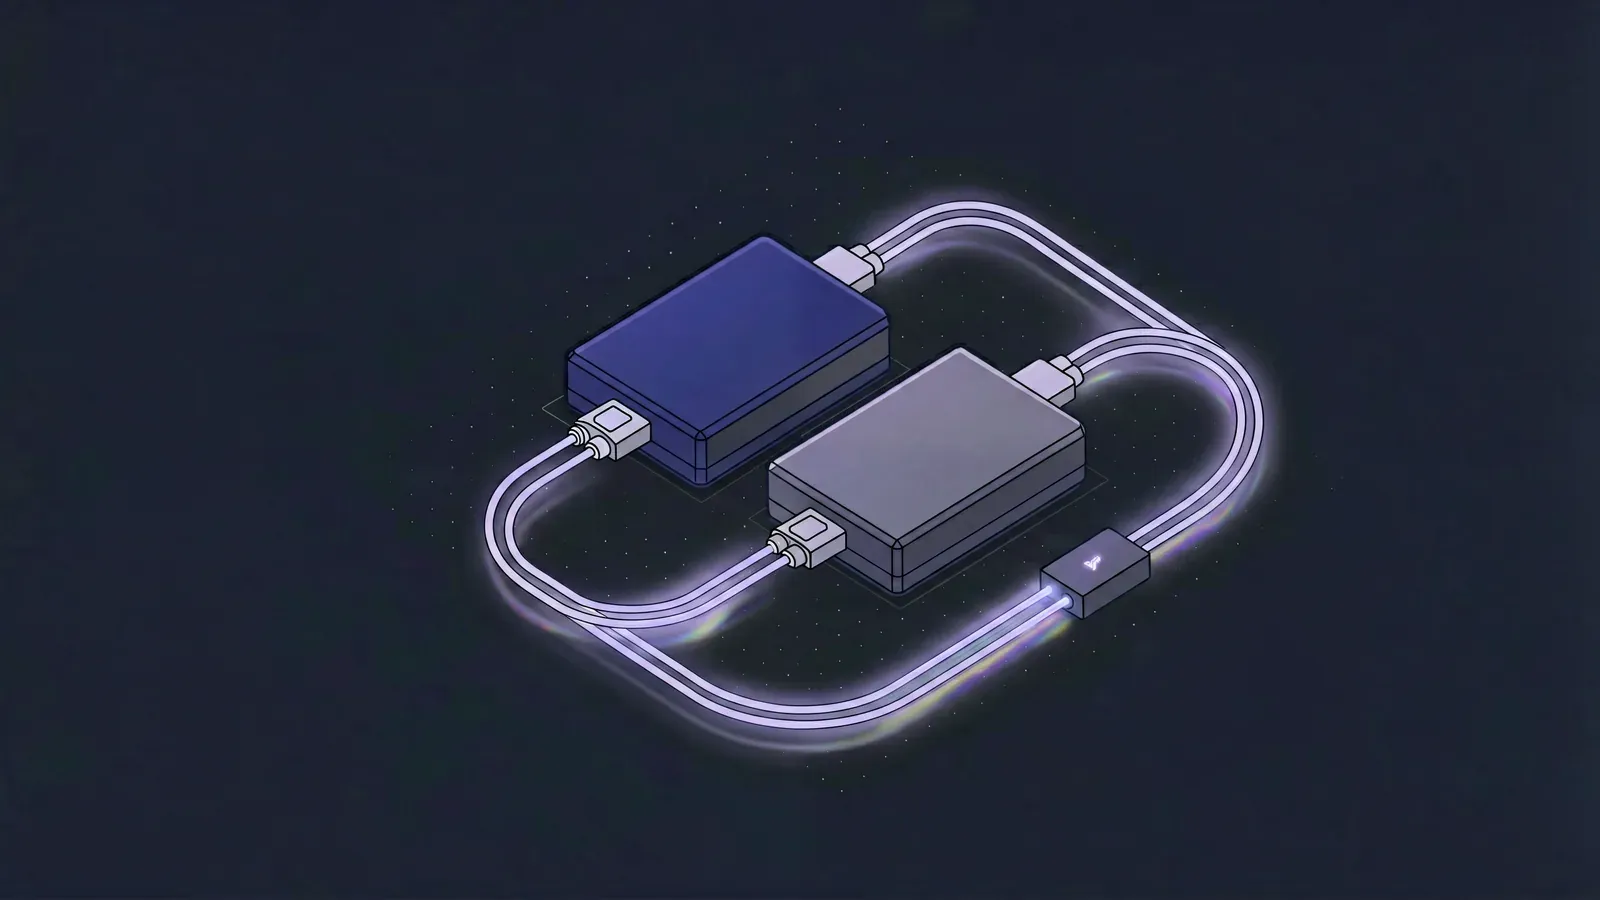
On a cross-border stream, three audio paths share one computer and each has to go somewhere different. Sorting them out is the first thing you build, and the thing most setups get wrong.
Where each path goes
| Audio | Source | Destination |
|---|---|---|
| Original voice | Microphone | Stream (optional) + host headphones |
| Translated voice | Synthesised by the translation tool | Stream (required) + host headphones (optional) |
| System sounds | Chat apps, alerts, gift effects | Host headphones only — must not reach the stream |
The complication is that an operating system really only understands one concept: the default output device. If the translation tool plays into the default speakers, the audio either gets picked up again by the microphone (echo plus duplicate recognition) or never reaches OBS at all.
A virtual audio cable solves exactly this. It provides a paired virtual output and virtual input: anything written to the output appears verbatim on the input. Any program that can choose an output device can now hand audio directly to any program that can choose an input device.
Why Desktop Audio is not good enough
The common beginner approach is to add a Desktop Audio source in OBS and hope it picks up the translation. On a cross-border stream this almost always breaks:
- Desktop Audio captures everything, including message notifications, browser video and platform gift effects;
- If the host wears headphones, Desktop Audio often captures nothing, because the audio went down the headphone path;
- You cannot adjust the translation volume independently — only the whole mix.
Isolating the translated voice on its own cable is what makes independent control possible.
How feedback loops happen
The most common failure while building this is the system recognising its own translated output and translating it again. The conditions are: translated speech plays through speakers, the microphone picks it up, it enters speech recognition, and it gets treated as a new sentence.
There are only two ways to prevent it, and you need one of them:
- The host wears headphones, physically breaking the speaker-to-microphone path;
- Translated audio never reaches physical speakers — it only goes to the virtual cable.
If you insist on speakers, acoustic echo cancellation is the only remaining option, and we would steer you away from it for a directional rather than a precise reason. Echo cancellation is audio pre-processing applied before recognition, and Google’s speech recognition best practices explicitly tell you to disable noise reduction and automatic gain control, on the grounds that the service is built for noisy audio and pre-processing typically lowers accuracy. Whether echo cancellation falls squarely in that category is not something the documentation settles. But a problem one pair of headphones solves physically is not worth handing to an algorithm.
Monitoring is the step people wire backwards
OBS has two separate monitoring settings, and getting either one wrong produces the same symptom: the host can hear the translation and the audience cannot. You find out when somebody complains.
- The monitoring device lives under Settings → Advanced → Audio, as Monitoring Device, and must point at the host’s headphones. Pointing it at the virtual cable feeds the translation straight back into your own input, which is the feedback loop you just spent an hour avoiding.
- The per-track monitoring mode lives under Edit → Advanced Audio Properties. OBS offers Monitor Off, Monitor Only (mute output) and Monitoring Enabled — the exact labels are in OBS’s own interface strings. The parenthesis is the whole story: Monitor Only mutes that track in the stream. A translated track needs Monitoring Enabled, so the host and the audience both get it.
The same window has a Sync Offset column, which applies to audio sources only — a detail the subtitle article comes back to.
Windows and macOS differences
On Windows, VB-CABLE is the de facto standard. It ships as donationware and installs one cable, CABLE Input paired with CABLE Output; the A+B and C+D sets on the official page are separate installs you only need when one cable is not enough. Treat the sample rate the way the encoder settings article does: matching across the whole chain matters, the specific value does not. Pick one in OBS under Settings → Audio, then set both ends of the cable in Windows to the same number.
On macOS, the system will not let one app capture another app’s output, so you need a virtual audio driver, and BlackHole is the usual choice. One widespread claim is worth correcting: it is not a kernel extension. The official repository states plainly that no kernel extensions or changes to system security are required; the driver installs under /Library/Audio/Plug-Ins/HAL/ and uninstalling means deleting that bundle and restarting CoreAudio. This is not pedantry — it is the difference between needing to weaken system security and not.
If you want the audio to reach OBS and stay audible to the host, create a Multi-Output Device in Audio MIDI Setup containing BlackHole and the headphones. Two traps documented in BlackHole’s own FAQ both surface mid-broadcast rather than during setup:
- The built-in output has to sit at the top of the Multi-Output device list, or you may get no sound at all;
- Every device except the clock source needs drift correction enabled. Without it, audio starts glitching some tens of minutes into a session, which reads exactly like a network problem and is not one.
Verification checklist
Once it is wired, confirm these four in order, and do not move on if any of them fails:
- The translated track shows level movement in the OBS audio mixer while speech is playing;
- The host hears the translation in their headphones with no noticeable echo;
- A local recording plays back with clear, non-duplicated translated speech — this also catches the monitoring mistake, because a track left on Monitor Only sounds perfect in the headphones and is simply absent from the file;
- Closing the translation tool drops the translated track’s level to zero.
The last one is the one people skip. Plenty of setups look correct while OBS is actually still capturing Desktop Audio and simply happens to hear the same thing.
Where subtitles fit
Do subtitles after audio works. Subtitles travel a completely separate path (window capture plus chroma key) with no coupling to audio routing. Getting audio working first means that when something breaks later, you know which layer to look at.
Steps
- 1
Install a virtual audio cable
Install VB-Audio Virtual Cable on Windows or BlackHole 2ch on macOS. After installing you should see one new output device and one new input device in your system sound settings.
- 2
Point the translation tool at the virtual cable
In the translation tool's audio settings, set the translated-speech output device to CABLE Input on Windows or BlackHole 2ch on macOS. Do not leave it on the default speakers.
- 3
Add an audio input capture in OBS
Add an Audio Input Capture source in OBS and select CABLE Output on Windows or BlackHole 2ch on macOS. This is the track your viewers hear.
- 4
Configure host monitoring separately
First set Monitoring Device to the host's headphones under Settings then Advanced then Audio — never to the virtual cable. Then open Edit then Advanced Audio Properties and set the translated track's Audio Monitoring to Monitoring Enabled. Do not pick Monitor Only (mute output), which removes that track from the stream.
- 5
Verify with a local recording
Record 30 seconds locally and play it back. Confirm both the original voice and the translation are present, with no echo and no duplicated speech, before going live.
Keywordsvirtual audio cableVB-CableBlackHoleOBS audioaudio routing